About Us
We are professional cooling tower fills manufacturer, which can supply wide ranges of cooling tower fills with PVC, PP or CPVC materials.

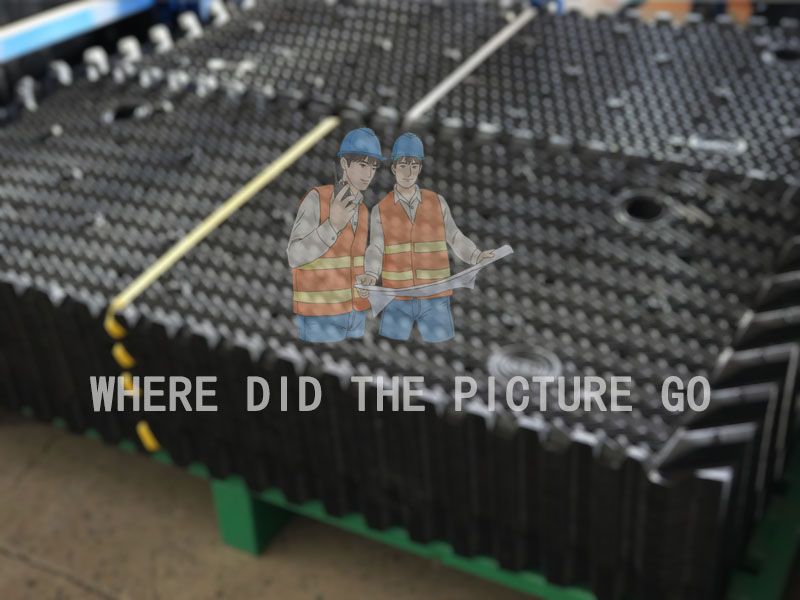
A brand new cooling tower fill can work wonders for your system's efficiency. But I've seen too many jobs where poor installation ruined expensive cooling tower filler before it even ran a full season. Whether you're doing a simple cooling tower fill replacement or a full tower rebuild, how you handle the tower fill matters as much as what you buy. In this guide, I'll walk you through proper installation techniques, common mistakes to avoid, and when to call a professional. Plus, I'll share insights from our cooling tower filler factory that you won't find in standard manuals.
Cooling tower filler is the media that creates surface area for heat transfer. Even the best cooling tower fills from a top fill replacement factory will underperform if installed incorrectly. Gaps allow air to bypass, crooked stacks collapse under water weight, and mismatched blocks create hotspots. Proper installation ensures you get the thermal performance you paid for.
In crossflow towers, fill sits vertically. You typically lower blocks into place from the top or slide them in from the side. The key is to ensure blocks are snug against each other and the tower wall. Use foam seal strips or silicone filler for gaps larger than half an inch. After cooling tower fill replacement on crossflow units, always check that the distribution basin above is level and water flows evenly across the fill face.
Counterflow fill is stacked horizontally like bricks. Start from the bottom and work upward, staggering joints between layers. Never stack more than 4 feet high without support grids — the weight can crush lower blocks. For tall counterflow towers, install intermediate support bars every 3-4 feet.
Round towers require special handling. Our Round Cooling Tower Fill comes in wedge-shaped sectors. Install them like pizza slices, starting from the center and working outward. Ensure each wedge locks into its neighbors. If you force a wedge in upside down, it won't fit and will leave a gap.
These large towers often have internal ladders, pipes, and beam supports. You may need to cut fill around obstacles. Use a handsaw or electric knife — never a heat knife (melted edges can clog flutes). Plan your cutting before you start hauling fill up the tower.
Different materials behave differently during installation.
Don't forget supporting components. We also make Air intake grille that should be installed upstream of the fill to prevent debris entry. And our Cooling tower water collector goes downstream to catch droplets. Install these at the same time for a complete refresh.
The internal pattern dictates which way the fill faces.
I've tested towers before and after fixing installation errors. Here's what I've measured:
If you're planning a cooling tower fill replacement, budget extra time for careful installation. Rushing usually leads to mistakes that cost more than the labor saved.
Standard fill blocks from any cooling tower filler factory are easy to stack. But when your tower has odd dimensions, you have two choices: cut standard blocks to fit (labor intensive) or order custom-sized fill. We offer custom cutting at our fill replacement factory. For round towers, we provide pre-cut Round Cooling Tower Fill. Custom fill reduces installation time by hours and eliminates the need for on-site cutting, which often leaves ragged edges and debris inside the fill.
After your cooling tower filler is installed, follow this care schedule:
Also inspect your air intake grille monthly. A clogged grille starves the fill of air, causing poor cooling. And check the water collector for drift — if you see mist leaving the tower, the collector may be damaged or incorrectly installed.
After visiting hundreds of sites, here are the top installation errors:
A simple drop-in replacement on a small crossflow tower is DIY-friendly. But if your tower is over 20 feet tall, has internal obstructions, or requires custom cutting, hire experienced installers. And always source your fill from a cooling tower filler factory that provides installation drawings and technical support.
Installing cooling tower filler isn't rocket science, but it requires patience and attention to detail. Take your time, follow the orientation marks, and seal any gaps. If you're unsure about any step, reach out to us. We've guided thousands of customers through successful cooling tower fill replacement projects.
Leave a comment
All fields marked with an asterisk (*) are required